How to release software of Python?
如何打包并发布一款用Python写的软件?
开发环境: win10, Pycharm2021
用到的工具:pyinstaller, NSIS
pyinstaller打包项目
利用Pyinstaller打包整个python工程,它会将项目所用到的所有依赖包打包在一起。这里通过 release.spec文件进行配置。
1 | # -*- mode: python ; coding: utf-8 -*- |
写好上面的 release.spec文件后,然后在终端相应的目录执行 pyinstaller .\release.spec,便可以对项目进行打包了。上面不懂的地方去看官方文档吧。下面有一个例子,读者可以看一下。
安装pyinstaller加密用的pycrypto包
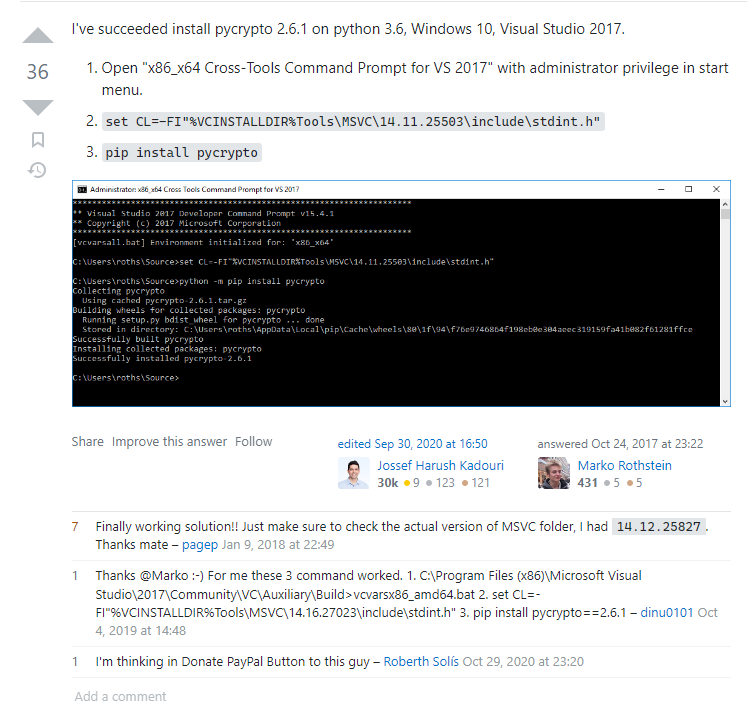
注意,我试过网上说的PyCryptodome,但是并没有成功。还是得安装pyisntaller指定的pycrypto包才行。我的win10+python3.8.5在用虚拟环境中的pip3安装pycrypto包时,遇到了报错。解决办法参考 链接2,看下面这个回答。
NSIS制作软件安装、卸载界面
先看一下这个视频教程。要是使用最简单的安装,即只有一个路径选择,那么视频里已经讲了。若是想使用高级一点的安装、卸载,则要用脚本的形式,即写一个.nsi文件。这个.nsi文件在编译完可以生成一个.exe的文件,双击这个生成的.exe就可以进行程序的安装了。
下面讲一个demo。
写 Program_Name.nsi文件,代码如下。该文件的书写需要与实际的安装和卸载过程结合起来,多尝试几次就明白代码的语法了。
1 | ; Program_Name.nsi |
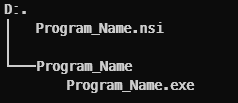
将 Program_Name.nsi放到与Program_name项目包的同一级,如下图所示。
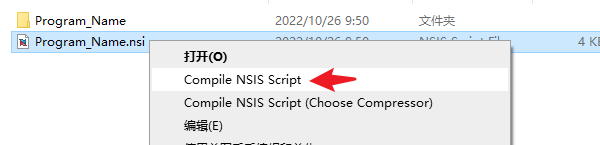
右击 Program_Name.nsi,点击Compile。
然后点击Test Installer,可以测试一下,也可以选择Close。
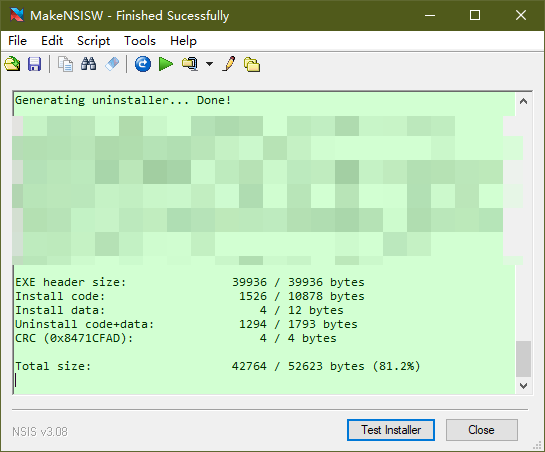
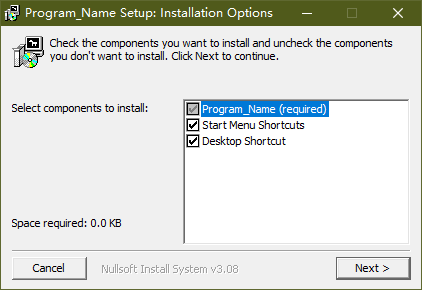
你会发现在当前文件夹下生成了一个 Install_Program_Name.exe,这个就是程序的安装文件。下面双击它进行安装。先勾选一些功能,然后选择安装路径,点击安装。
安装好了以后会在 Install_Dir文件夹下释放下面的文件:
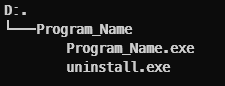
并且在桌面和开始菜单会生成快捷方式。


若要卸载的话,双击那个 uninstall.exe即可。
我把这个demo上传到github了,需要的同学自取吧,记得给个星哦。